───✱*.。:。✱*.:。✧*.。✰*.:。✧*.。:。*.。✱ ───
Scooby’s Snack Station
Screenshot(s)
Description
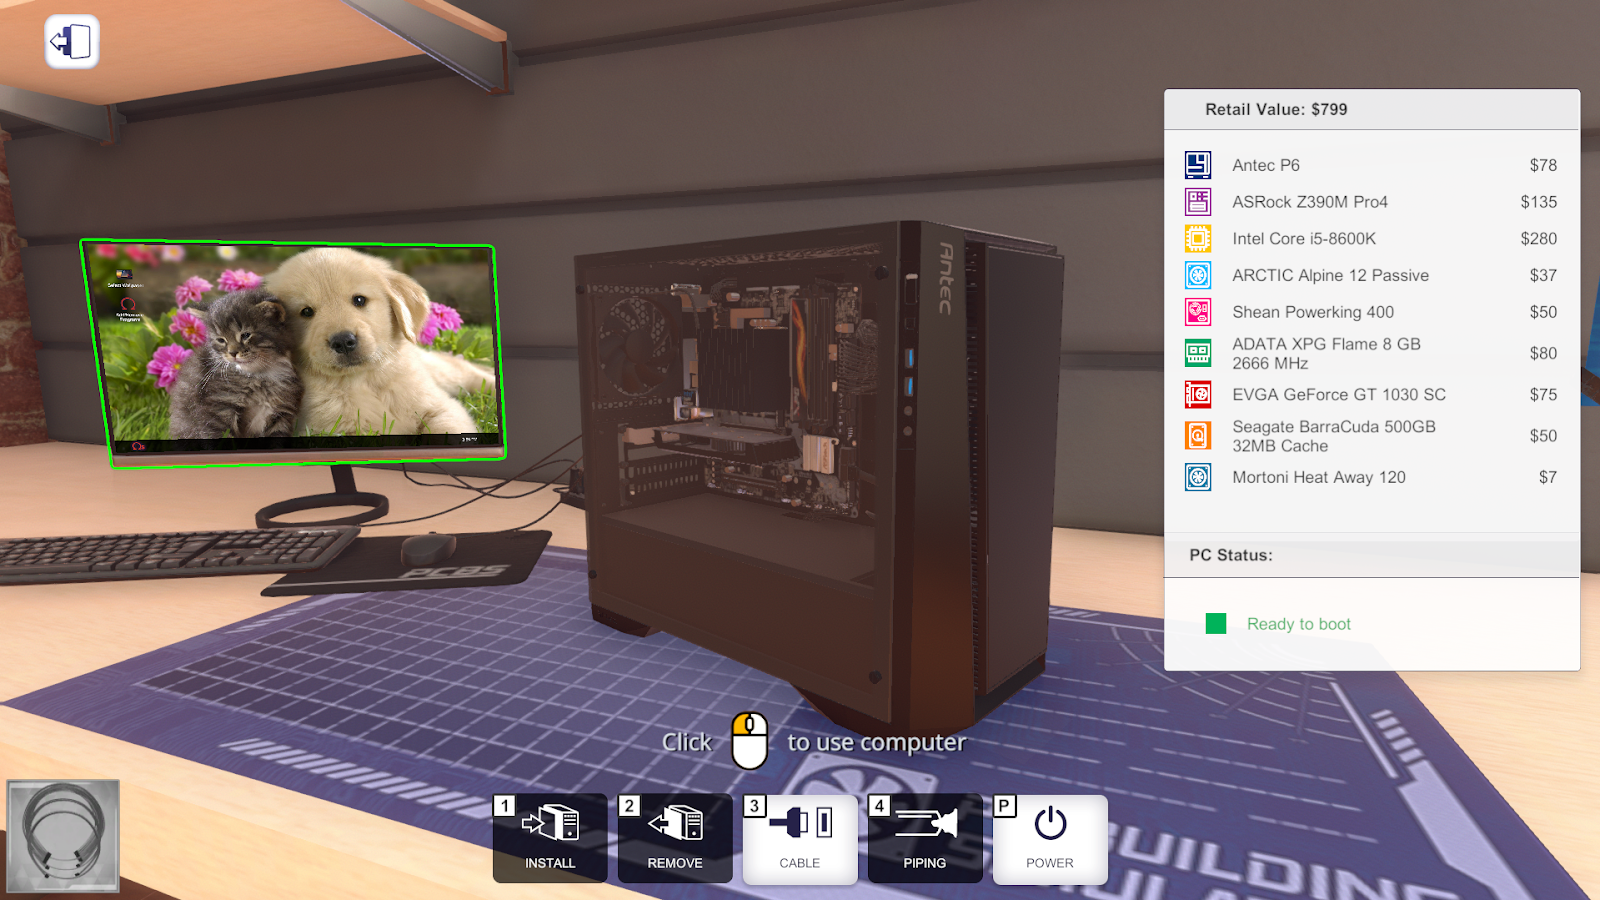
I chose the small form factor build because I thought Scooby wouldn’t want a large computer for just watching online videos and such. Additionally, I tried to choose the best parts for the price. Thankfully, I was able to afford 8 GB of RAM for Scooby, so he should be able to open at least 3 Chrome tabs. I also chose a passive cooler for the CPU to keep the build quiet.
I also wouldn’t have chosen a GPU if PC Building Simulator didn’t require one; since I don’t think Scooby would really need one for the tasks he’s doing. Instead, I’d use the extra money on more RAM or something.
For cable management, there’s not very many options in PC Building Simulator other than matching the cable colors. However, if you were to actually do this build, you could use zip ties or cable combs to make the cables cleaner.
Parts
| Type | Name | Price |
|---|---|---|
| Case | Antec P6 | $78 |
| Case Fan | Mortoni Heat Away 120 | $7 |
| Motherboard | ASROCK Z390M Pro4 | $135 |
| CPU | Intel i5-8600K | $280 |
| CPU Cooler | ARCTIC Alpine 12 Passive | $37 |
| PSU | Shean Powerking 400 | $50 |
| RAM | ADATA XPG Flame 8GB @ 2666 MHz | $80 |
| GPU | EVGA GeForce GT 1030 SC | $75 |
| HDD | Seagate BarraCuda 500GB 32MB Cache | $50 |
| $799 |
Velma’s Research Rig
Screenshot(s)
Description
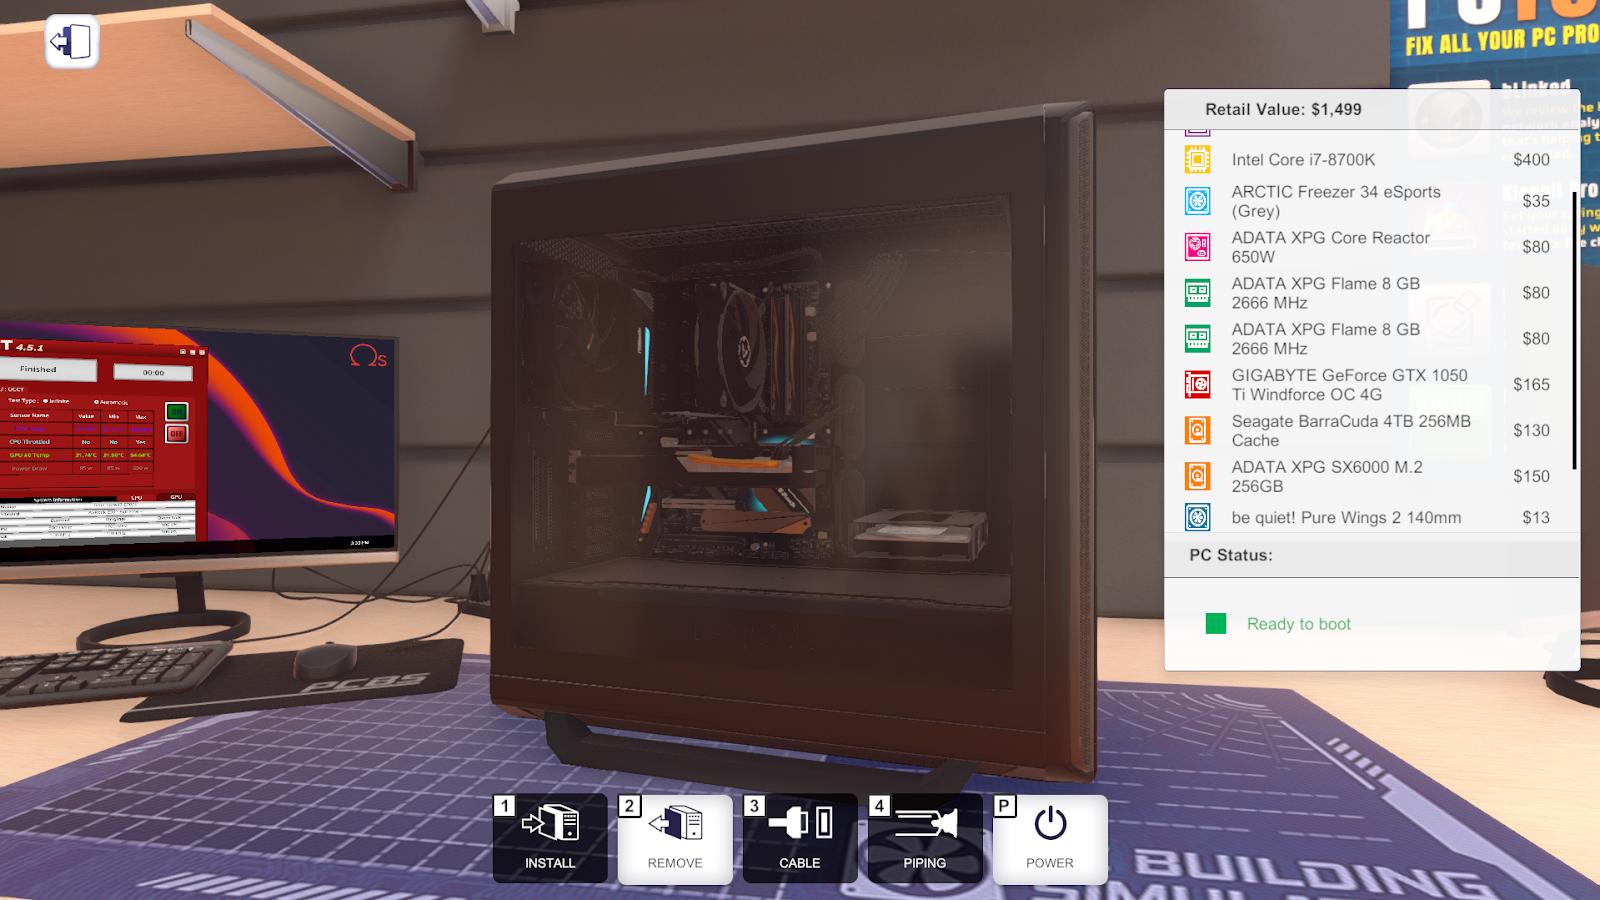
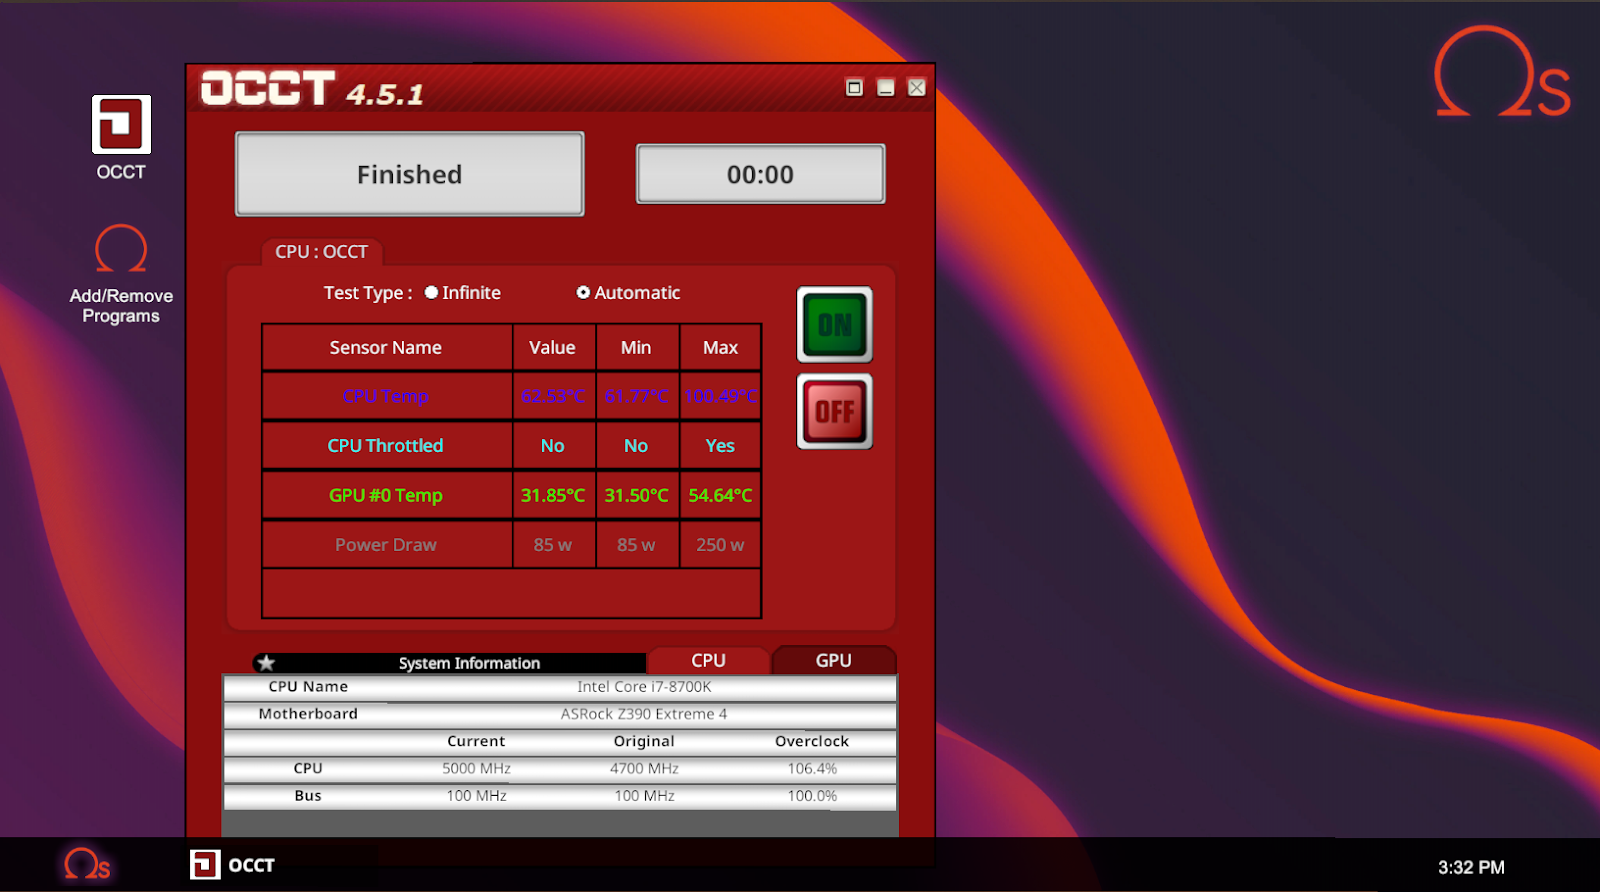
For Velma’s build, I overclocked the CPU from 4700 MHz to 5000MHz. I did this mainly for the complex algorithms requirement, since I assume that would use a lot of CPU power. I also included a pretty decent (GTX 1050 Ti) GPU for this purpose—since a lot of computing can be made easier with a dedicated GPU, particularly machine learning.
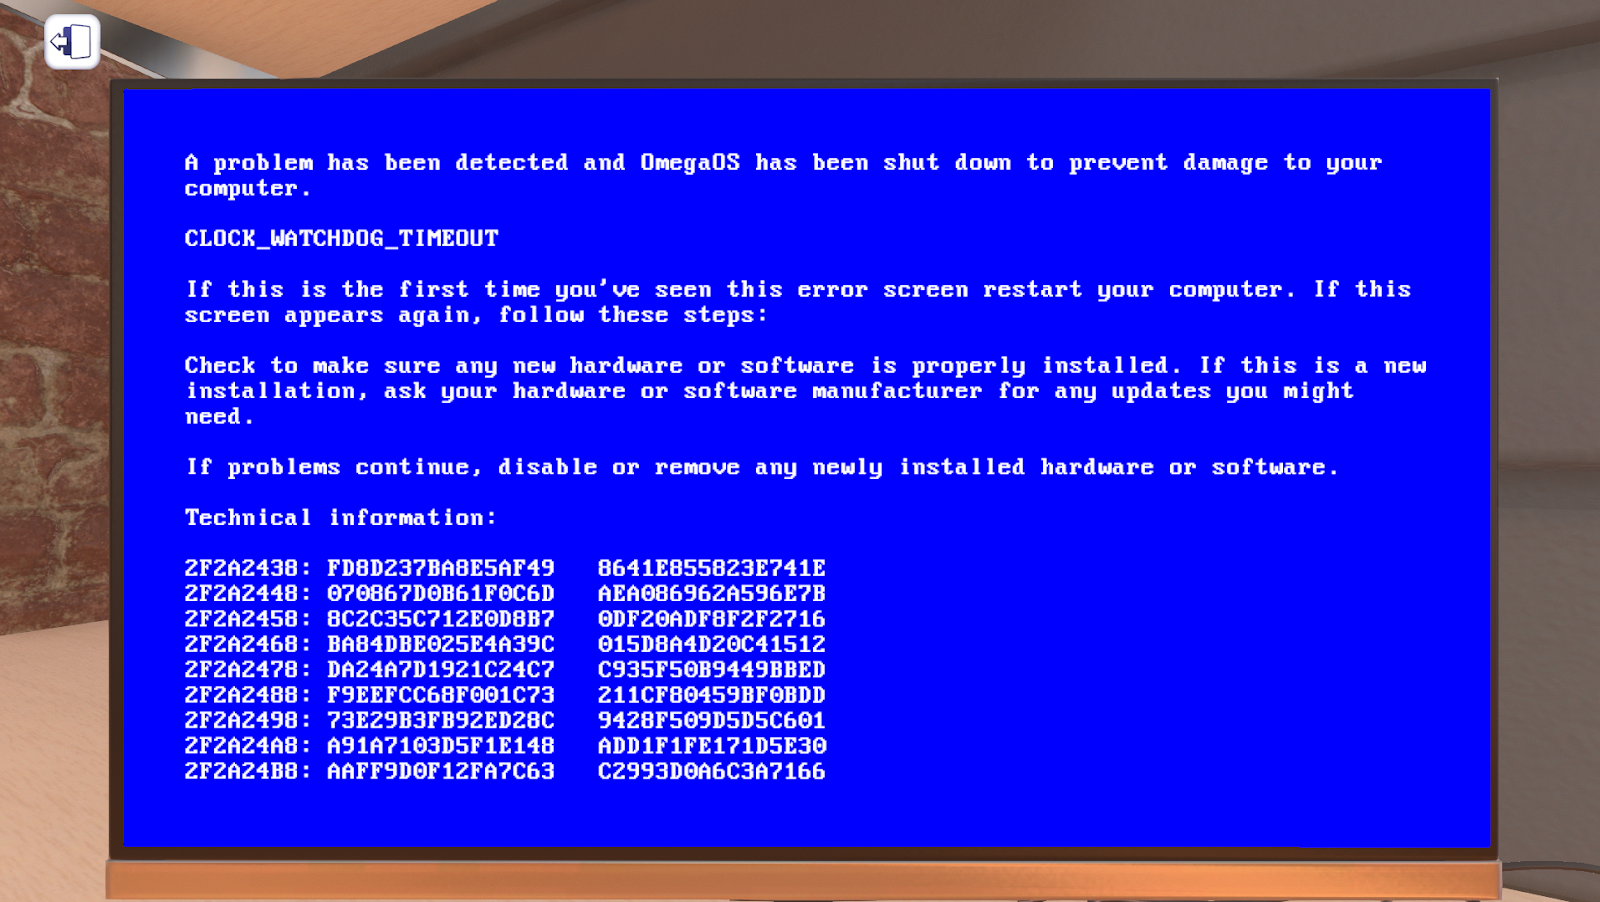
I encountered a few issues whenever overclocking (as seen in the image with the BSOD), since I was overclocking the voltage too high, it would cause the CPU to overheat and subsequently crash. I solved this just by lowering the voltage and ratios until it was able to run without overheating.
For the storage requirement, I included a 256 GB M.2 SSD for the OS drive, with a 4 TB HDD for the mystery database. If the budget was higher, it would be good to change the HDD for an SSD instead, since the higher speeds would be good for reading from and writing to a database.
Parts
| Type | Name | Price |
|---|---|---|
| Case | be quiet! Silent Base 801 Window (Black) | $121 |
| Case Fans | be quiet! Pure Wings 2 140mm x3 | $13 x3 |
| Motherboard | ASRock Z390 Extreme 4 | $180 |
| CPU | Intel i7-8700k @ 5 MHz | $400 |
| CPU Cooler | ARCTIC Freezer 34 eSports (Grey) | $35 |
| PSU | ADATA XPG Core Reactor 650W | $80 |
| RAM | ADATA XPG Flame 8 GB @ 2666 MHz x2 | $80 x2 |
| GPU | GIGABYTE GeForce GTX 1050 Ti Windforce OC 4G | $165 |
| HDD | Seagate BarraCuda 4TB 256MB Cache | $130 |
| SSD | ADATA XPG SX6000 M.2 256GB | $150 |
| $1499 |
Shaggy’s Gaming Goliath
Screenshot(s)
Description
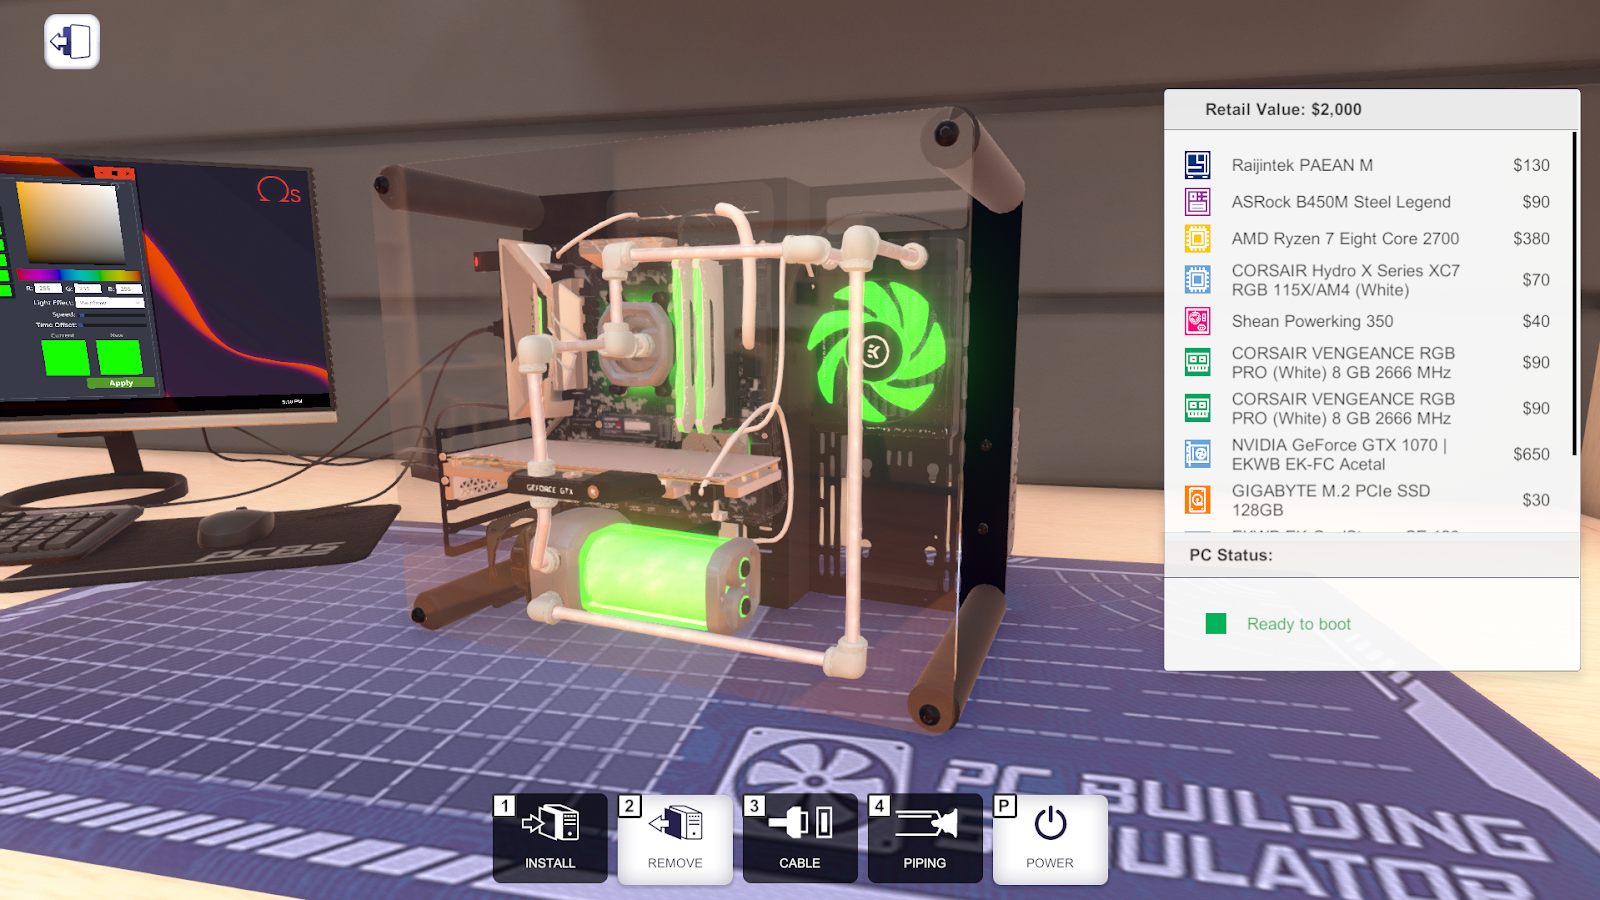
For the cooling requirements of the build, I created a custom water-cooled loop for the build. I was able to make just about everything RGB—including the motherboard, CPU block, RAM, reservoir, and radiator.
I mainly chose the water-cooling setup for cooling since water-cooling tends to be more efficient at keeping components cool. Additionally, it just looks nice, and I was already going for an aesthetically pleasing build with the RGB.
In order to do the water-cooling setup, I had to sacrifice a bit of performance. I probably could have chosen a better PSU and SSD if I wasn’t trying to get a water-cooled build. However, I think the aesthetics of the build are super nice with the hard tubing and 90° bends. I also wish I was able to fit a two-fan radiator to fill in the gap underneath the radiator, but the budget didn’t allow for that without sacrificing something else.
Parts
| Type | Name | Price |
|---|---|---|
| Case | Raijintek PAEAN M | $130 |
| Motherboard | ASRock B450M Steel Legend | $90 |
| CPU | AMD Ryzen 7 Eight Core 2700 | $380 |
| CPU Cooler | CORSAIR Hydro X Series XC7 RGB 115X/AM4 (White) | $70 |
| PSU | Shean Powerking 350 | $40 |
| RAM | CORSAIR VENGEANCE RGB PRO (White) 8GB @ 2666 MHz x2 | $90 x2 |
| GPU | NVIDIA GeForce GTX 1070 | EKWB EK-FC Acetal | $650 |
| SSD | GIGABYTE M.2 PCIe SSD 128GB | $30 |
| Radiator | EKWB EK-CoolStream SE 120 RGB | $280 |
| Reservoir | CORSAIR XD5 RGB Combo | $150 |
| $2000 |
Daphne’s Design Dynamo
Screenshot(s)
Description
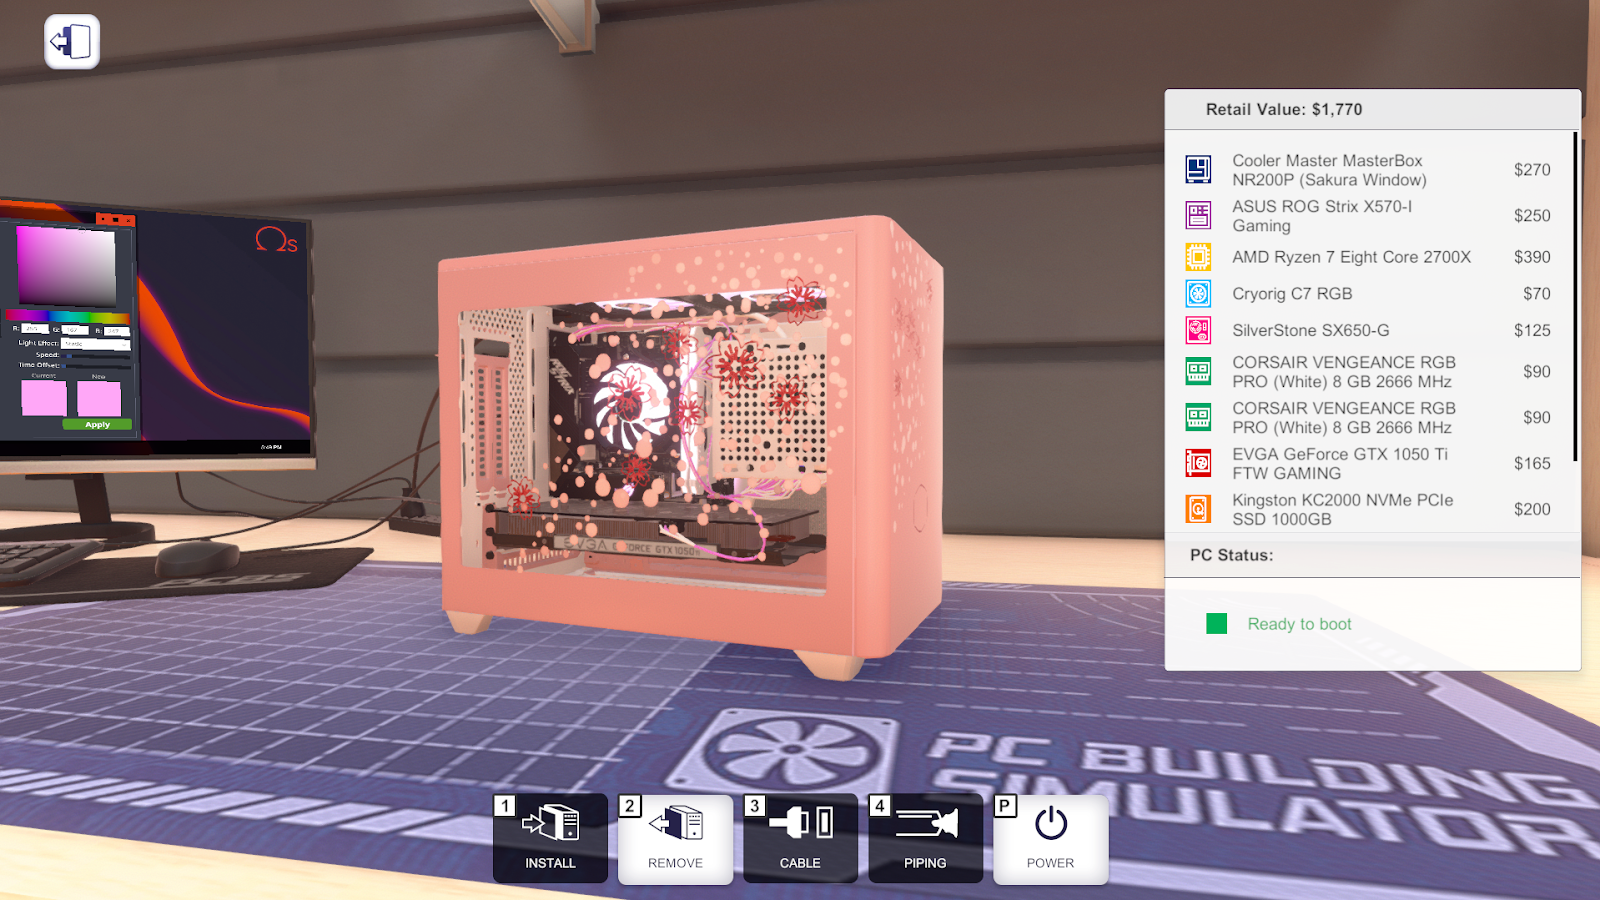
For Daphne’s build, I was able to find a nice looking case called the Cooler Master MasterBox NR200P (Sakura Window). I think the side panel’s design was nice, but the decal is a little large, but that’s mainly a personal preference thing.
To make it fitted for video editing, I added a GTX 1050 Ti, which should be fine for video editing. If the budget allowed for a higher-end GPU, then a GPU with more VRAM and CUDA cores would be ideal. I also added a 1 TB M.2 SSD for the benefits of the speed. Ideally, there would be more storage if Daphne was to store a lot of video data. I was planning on having a smaller M.2 for the OS drive, and a larger HDD for storing video data, but the case didn’t have a disk bay, and SSDs wouldn’t fit either for some reason.
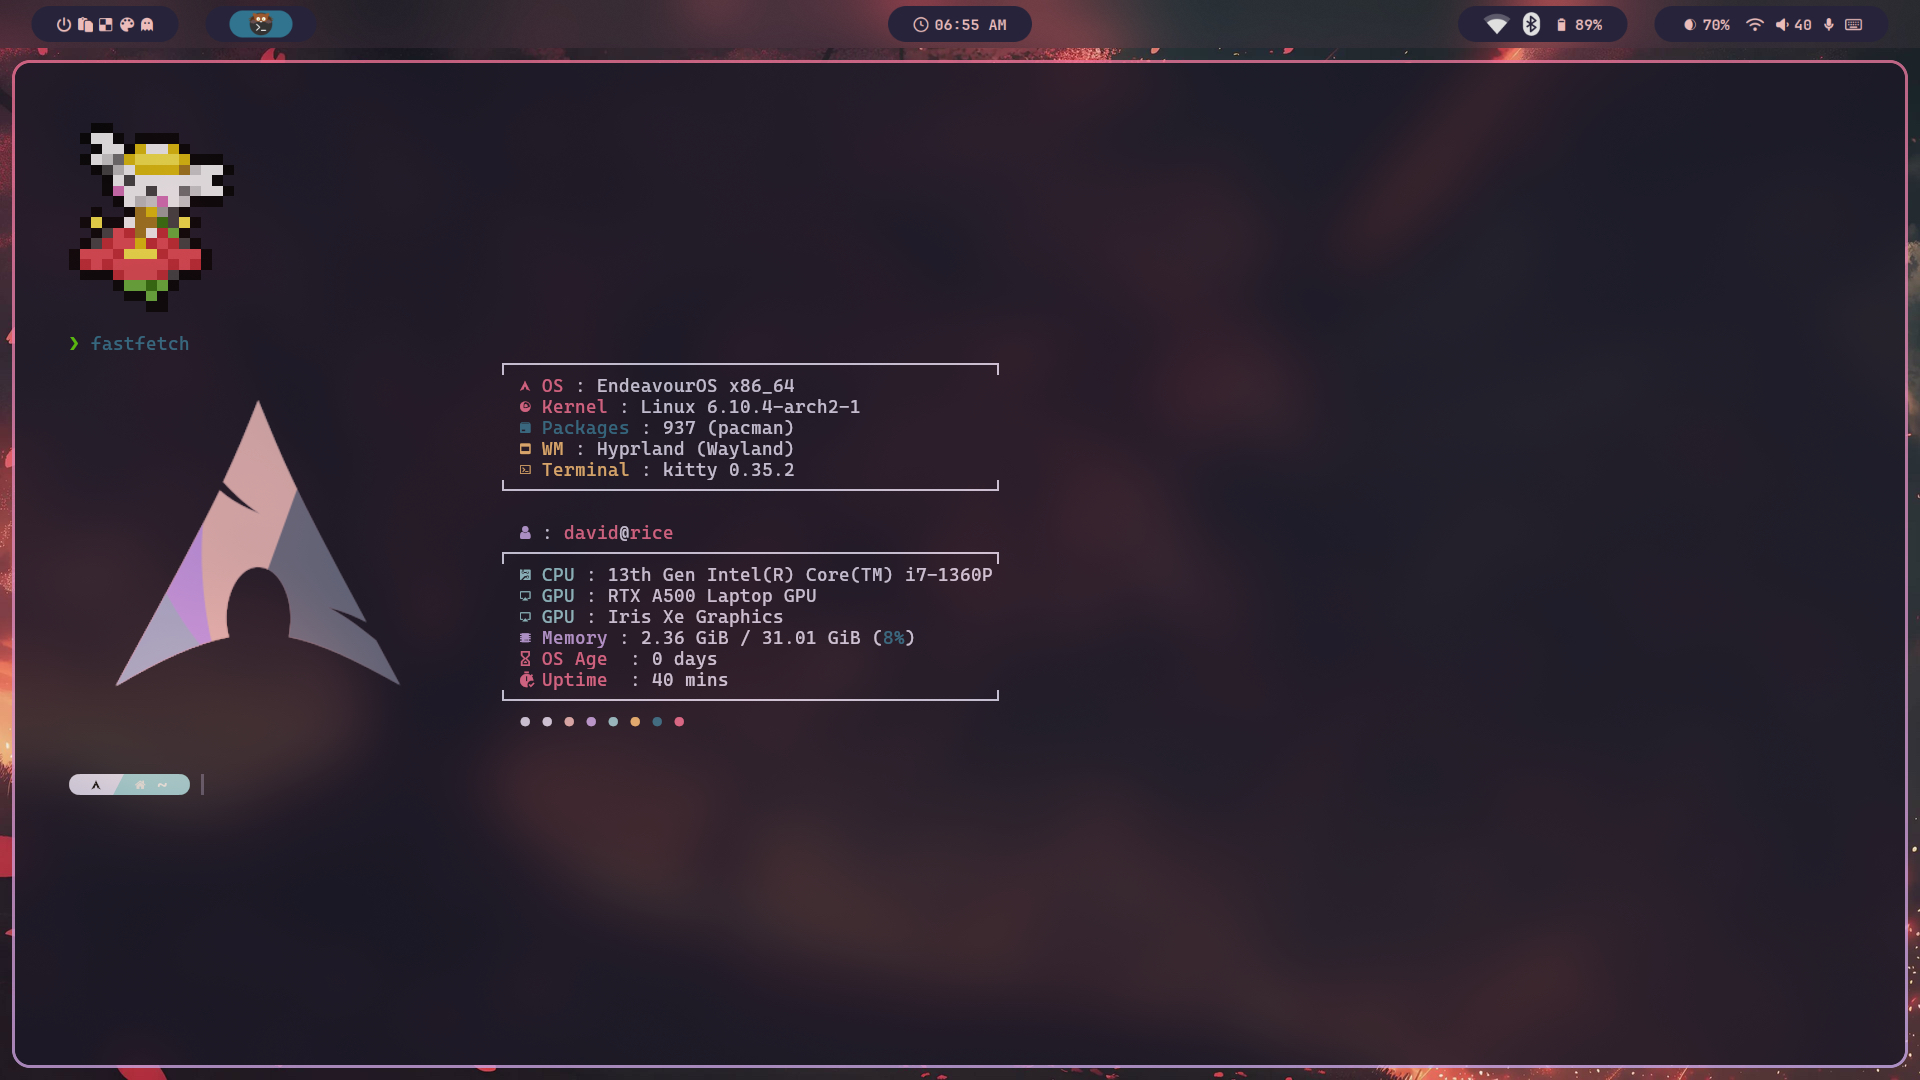
If Daphne were to dual-boot Linux/Windows on her computer, she would probably want to initially install Windows, since the GUI for Disk Management is a little nicer than working in the terminal. If the setup was ideal with an OS drive and a video drive, she would partition the OS drive to have two partitions—one for Windows, and the other for the Linux distribution she wanted. The video drive would be accessible from both operating systems, and she can store all of her video data in that drive.
I’m honestly not sure which Linux distro she would even choose for video editing, since most Adobe software doesn’t work—unless she uses Wine (or an alternative software like DaVinci Resolve). Here’s an obligatory screenshot of my personal EndeavourOS installation:
Parts
| Type | Name | Price |
|---|---|---|
| Case | Cooler Master MasterBOX NR200P Sakura Window | $270 |
| Case Fans | ADATA XPG VENTO 120 x2 | $30 x2 |
| Motherboard | ASUS ROG Strix X570-I Gaming | $250 |
| CPU | AMD Ryzen 7 Eight Core 2700X | $390 |
| CPU Fan | Cryorig C7 RGB | $70 |
| PSU | SilverStone SX650-G | $125 |
| RAM | CORSAIR VENGEANCE RGB PRO (White) 8 GB @ 2666 MHz x2 | $90 x2 |
| GPU | EVGA GeForce GTX 1050 Ti FTW Gaming | $165 |
| SSD | Kingston KC2000 NVMe PCIe SSD 1000GB | $200 |
| $1770 |
Fred’s Trap Tinkerer
Screenshot(s)
Description
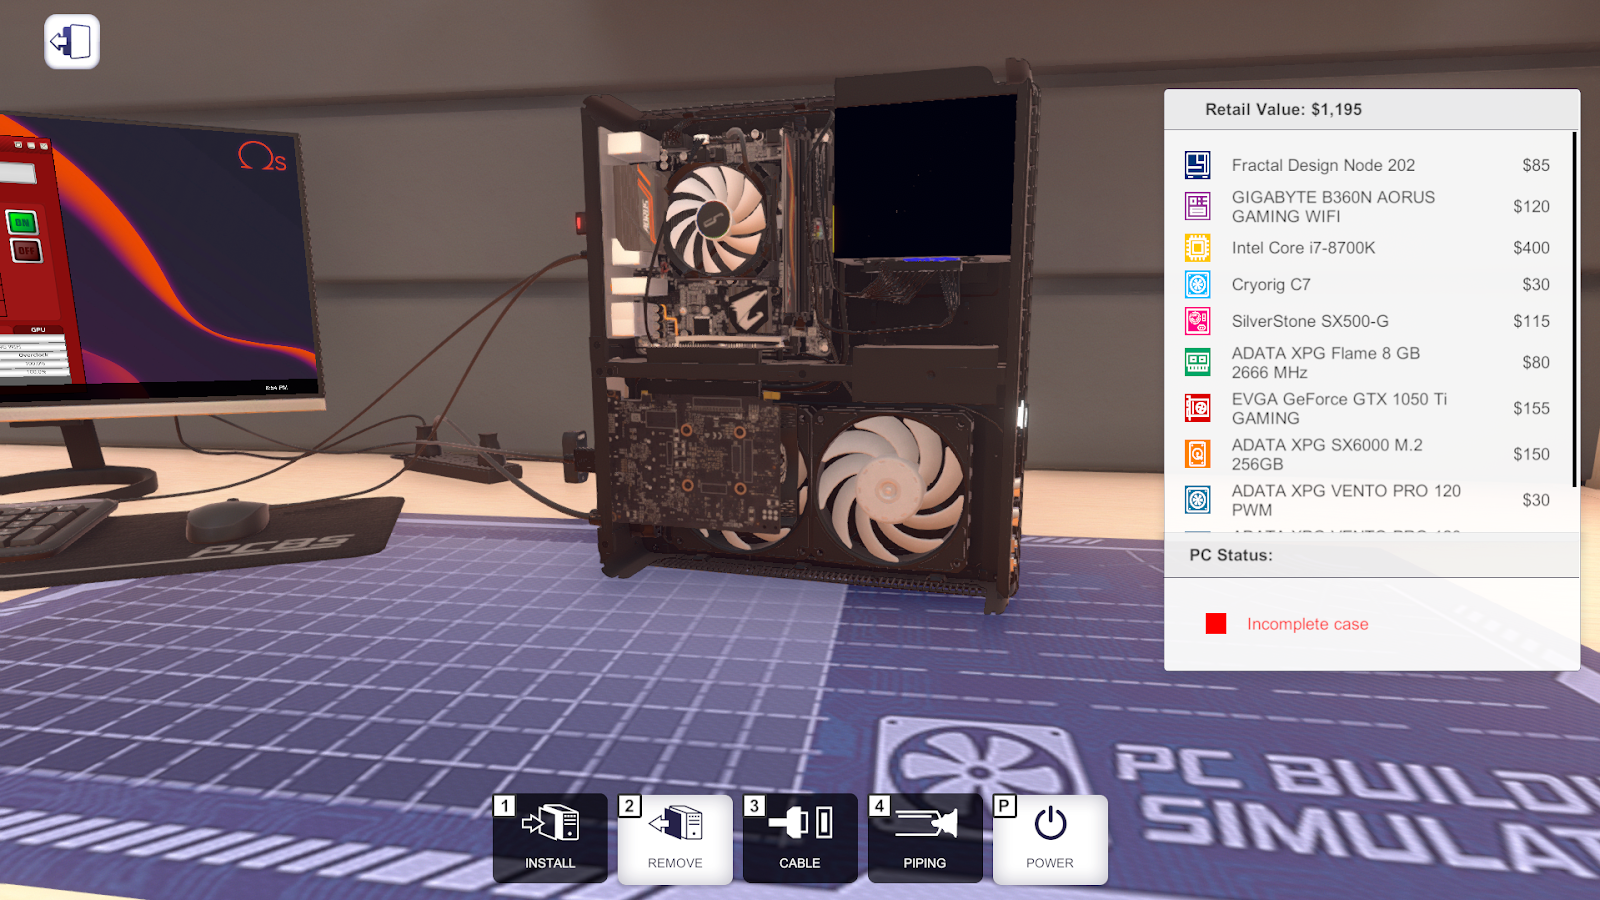
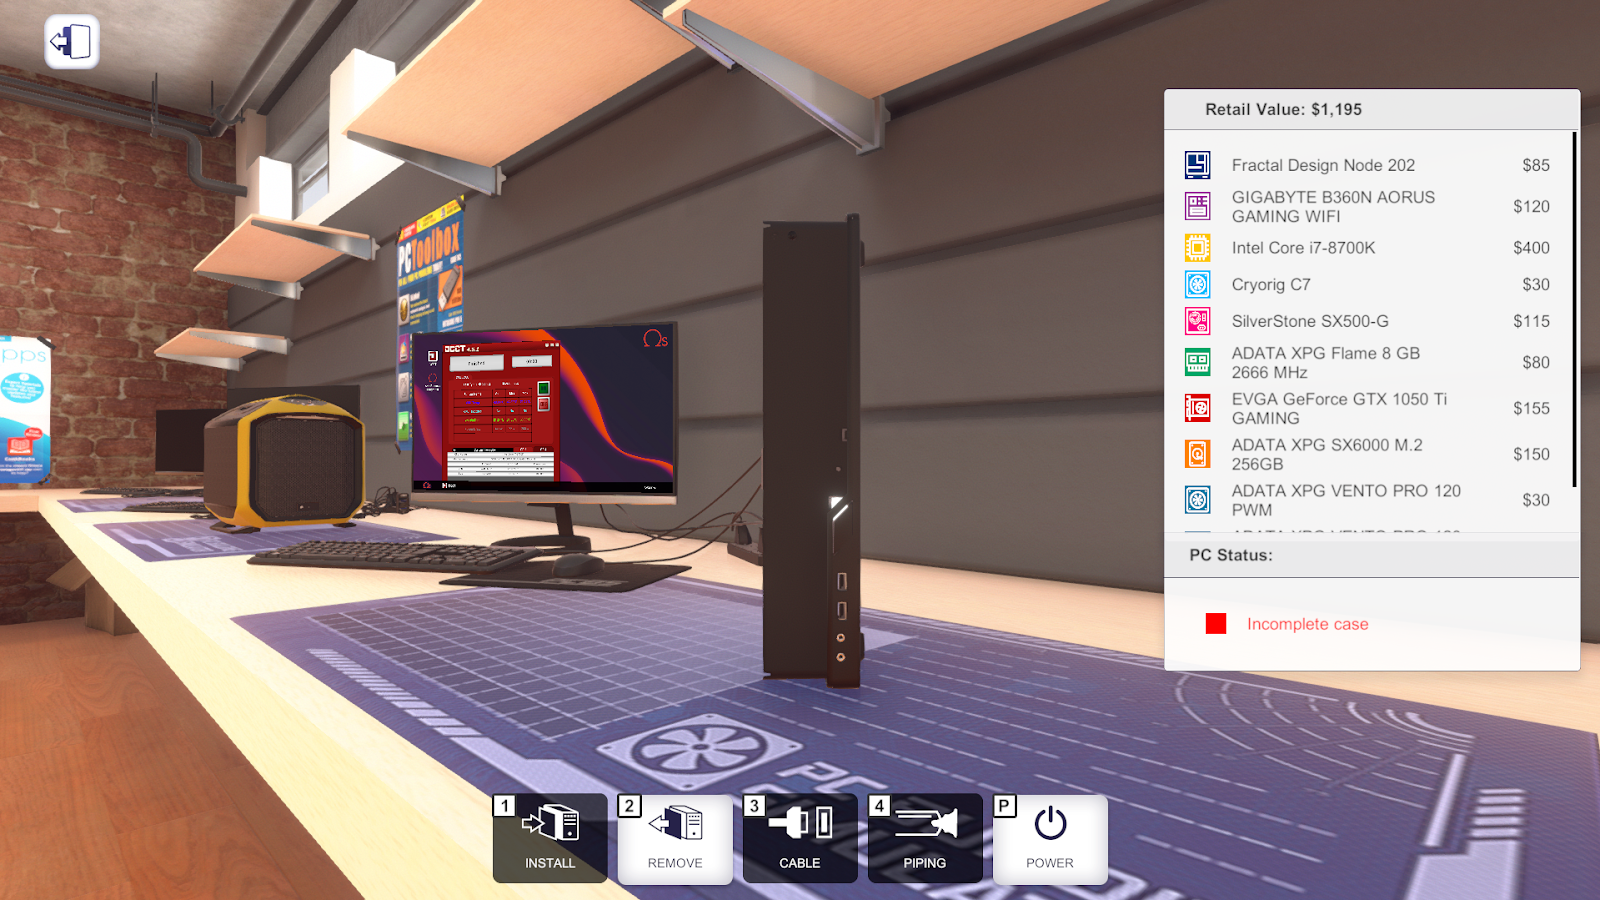
For the form factor requirement, I chose the smallest case that was in the game—the Fractal Design Node 202. This case only has a volume of 10.2 liters, and that came with a few challenges. I considered the CORSAIR Graphite Series 380T, but it was bigger than I expected since it was pretty wide
One of the main challenge was the airflow of the case. Since the case is so small, there’s not very many options for fans, with there only being 4 different CPU fans to choose from. I chose the cheapest CPU fan, and I chose two case fans so the components don’t overheat. Initially, I only had one case fan which resulted in the PC blue screening whenever running the OCCT program. However, with two case fans, the PC seems to run pretty well—the CPU maxed at around 72°C.
Additionally, to make the build more portable, I chose a motherboard with WIFI, that way Fred doesn’t need an ethernet connection whenever he wants to use his computer. (If Fred wants a super portable computer—he should really just use a laptop, but that’s besides the point)
Parts
| Type | Name | Price |
|---|---|---|
| Case | Fractal Design Node 202 | $85 |
| Case Fans | ADATA XPG VENTO PRO 120 PWM x2 | $30 x2 |
| Motherboard | GIGABYTE B360N AORUS GAMING WIFI | $120 |
| CPU | Intel i7-8700K | $400 |
| CPU Cooler | Cryorig C7 | $30 |
| PSU | SilverStone SX500-G | $115 |
| RAM | ADATA XPG Flame 8 GB @ 2666 MHz | $80 |
| GPU | EVGA GeForce GTX 1050 Ti GAMING | $155 |
| SSD | ADATA XPG SX6000 M.2 256GB | $150 |
| $1195 |
───✱*.。:。✱*.:。✧*.。✰*.:。✧*.。:。*.。✱ ───